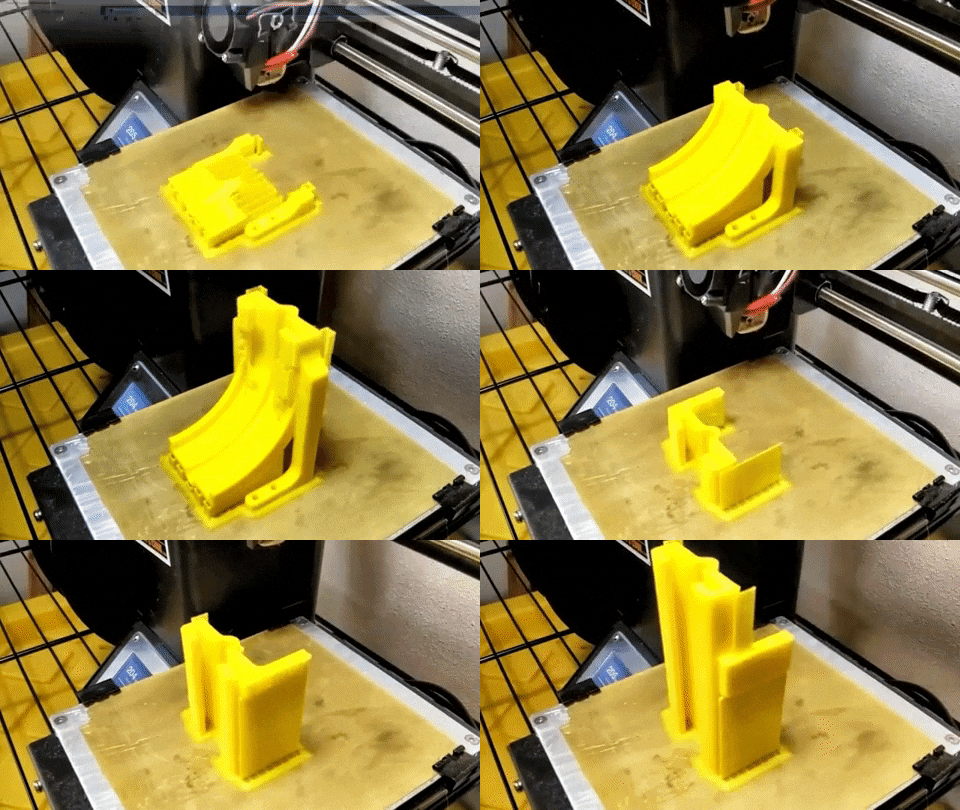

For the last 10 years or so, 3D printing has been a popular buzzword. Proponents have long hyped the idea that if you think of something new or break something you own, you can just push a button on your computer and print a new one in minutes. Perhaps these ideas were overblown at one point, but after finally obtaining a printer following years of skepticism, it seems that many of the early issues with these devices have been worked out. I use mine all the time, for projects from printing a replacement part for a lamp, to crafting the body of a small rocket-launching robot.
Make your choice
If you search the web for “3D printer” you’ll find a variety of models with prices ranging from less than $200 to well over $1,000. There is, of course, some difference in quality among printers at each price level, and you’ll want to consider specifications such as resolution, the materials it can print with, print speed, and print area, which determines how big of a print you can make.
The Ender 3, which costs a little more than $200, is a popular choice for its generous 220-by-220-by-250-millimeter print area, while the Prusa i3 MK3 is a well-respected printer that’ll run you about $1,000. Personally, I purchased a Monoprice Select Mini 3D Printer V2, which is an exceptionally popular small-budget printer. It’s pretty basic, features-wise, with a relatively small 120-by-120-by-120-millimeter print area, but it cost less than $200 and worked extremely well out of the box for me.
Getting started
After unboxing your printer, you’ll need to level the bed, which simply means adjusting screws at each corner of the printing surface to ensure it’s a consistent distance from the tip of the extruder—the part that prints. More capable printers often feature an auto-leveling function, but the Monoprice Select Mini does not.
Instead, I had to move the extruder nozzle—the tip of the extruder assembly that molten filament flows out of—to positions near the four bed adjustment screws and turn them until it was 0.05 millimeters above the bed. The manual suggests measuring this by attempting to slide a piece of paper underneath, and says that when it slides with only a slight amount of resistance, the adjustment is correct.
This method seemed a little haphazard, so I turned to a set of feeler gauges. It worked well and I didn’t have to adjust anything again for several months, but if you don’t have these gauges handy, the paper method will likely work well enough.
With bed leveling done, feed filament into your extruder. This may mean some messing about with the material until it feeds correctly, and cutting the end of the filament at an angle can assist in this endeavor. Set the extruder to the proper temperature for the material you’re using, then push filament through your extruder until you see molten plastic start to appear. Your printer may vary in its setup procedure, but after this process you’ll be ready to print.
Start printing

My printer came with a sample model on the included SD card, which is a good place to start if you want to see if your printer actually works. Personally, I had no interest in a small plastic cat, and instead turned to Thingiverse to find a small enclosure for an electronics project I was working on.
These files generally come in a stereolithography (STL) format, and you’ll need to load them into a slicing program like Cura to generate the actual G-code file that controls your printer.
Obtaining files in an STL format means you can modify the models you download to fit your printer and adjust how you want things printed. For example, you may want certain wall thicknesses, print speeds, or infill properties (how solid the inside of your print will be) that affect the final product.
There are a wide variety of printable items available on Thingiverse and many other download locations, but in my opinion, the real magic of 3D printing occurs when you design custom parts. Personally, I design most of my projects in Autodesk Fusion 360, but programs such as Tinker CAD and OpenSCAD are also popular modeling options.
After making projects for years with more traditional tools, it’s amazing to be able to simply press a button and have my printer generate a part. In my case, these have usually been brackets and small spacers for robotics and other projects, but more decorative items are also quite popular and can be finished and painted to make them really stand out.
