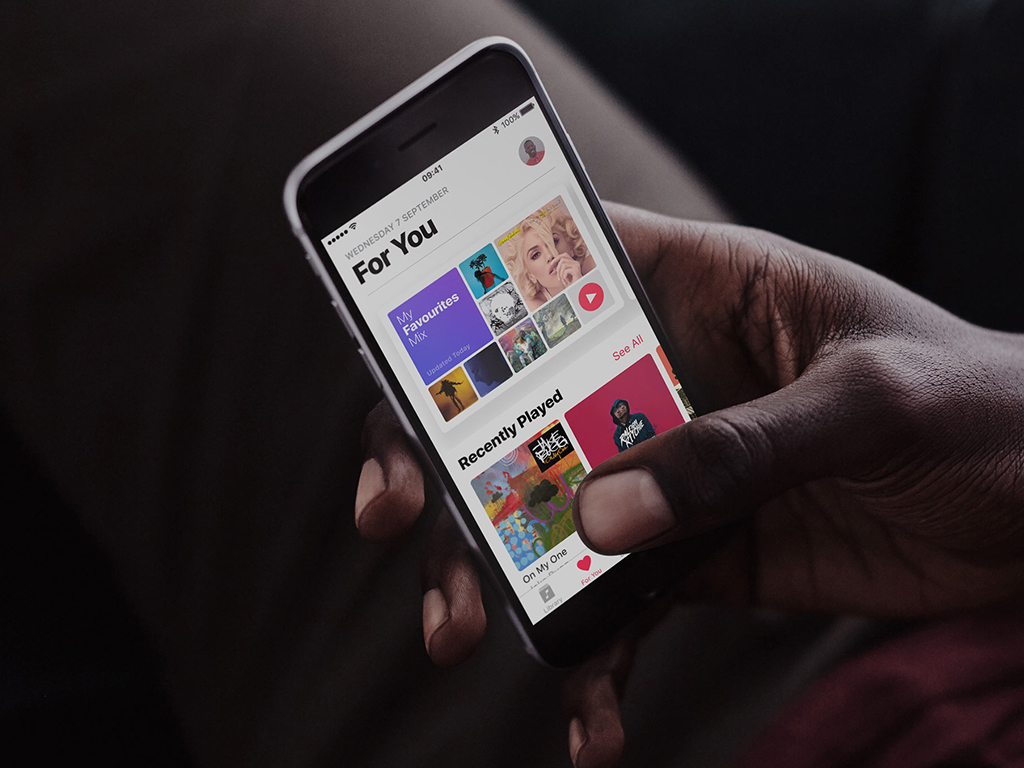

With the iPod and the original iTunes digital store, Apple stood at the forefront of the digital music revolution. In 2015, the computer behemoth finally embraced the idea of streaming with the launch of Apple Music. Whether you’re new to the service or you’ve been using it since the start, here’s how you can make more of your Apple Music experience.
Improve audio quality on phones
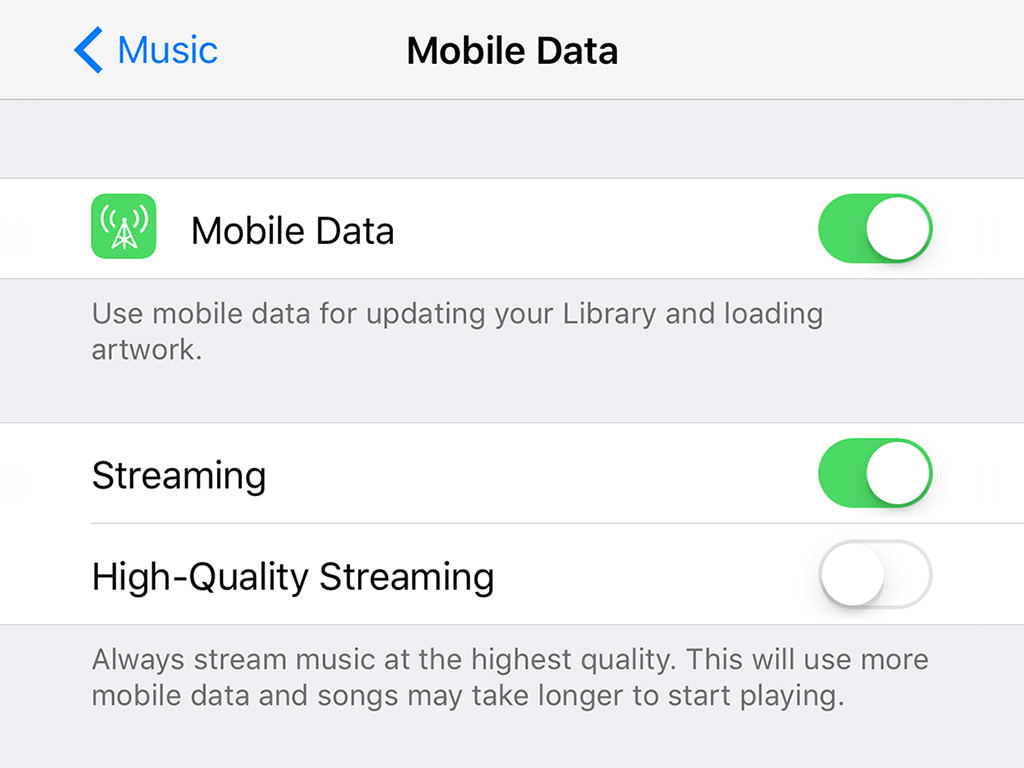
To prevent you from chewing through your cellular data plan too quickly, Apple Music streams tunes at a lower quality when you’re not connected to Wi-Fi. If you’d rather burn through the data and have music that sounds top-quality, you can edit this setting inside the app.
In the iOS Settings app, tap Music, then Mobile Data to enable the best quality streaming over cellular networks. On Android, open the Apple Music app, then tap the menu button (top left) and go to Settings. Flick the High Quality on Cellular switch to On.
Tweak the sound settings
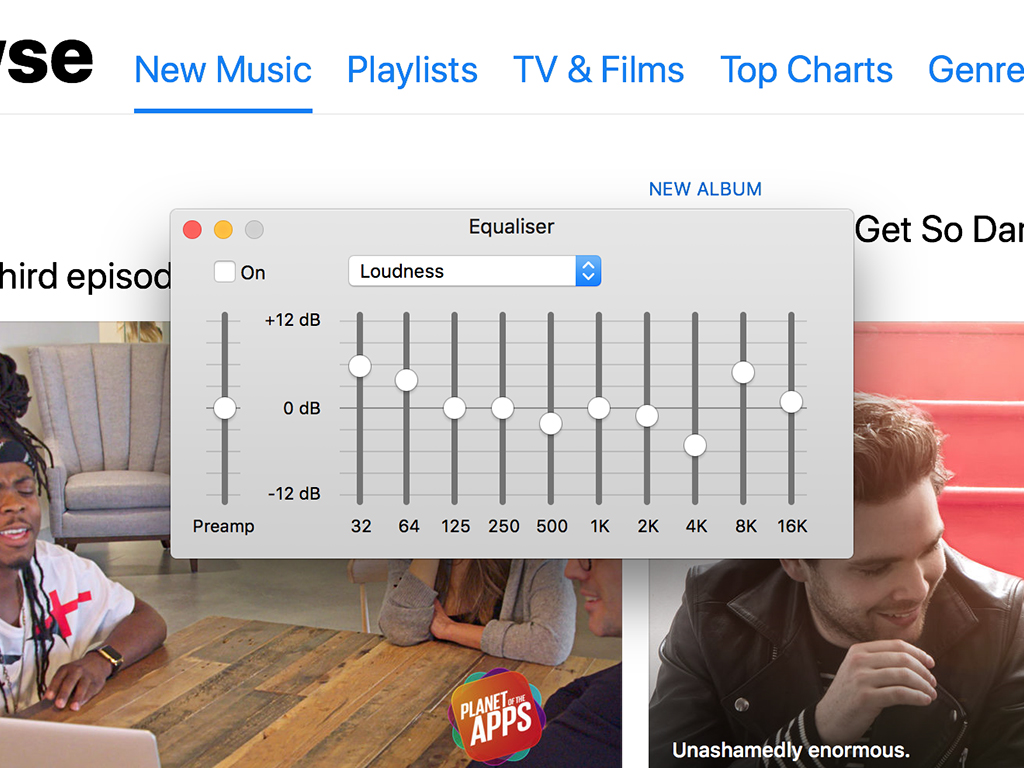
Apple Music for iOS, as well as iTunes for Windows and macOS, has an equalizer you can use to tweak the sound of your music. You can pick from a variety of presets, or tweak the sliders yourself to match the kind of speaker or headphones setup you’ve got.
The problem is, it’s not immediately obvious where that equalizer is. In iOS, from Settings, choose Music, Playback, and then EQ to find it on your iPhone. On iTunes for Windows, open the View menu and choose Show Equalizer; on iTunes for macOS, open the Window menu then choose Equalizer.
Check how much storage the app takes up

Smartphone space is at a premium. By the time you’ve synced a dozen playlists to your iPhone so you can listen offline, Apple Music might be using up a significant chunk of room. Go to Settings, Music, and Downloaded Music to check what’s been saved.
If you want to clear up some local space, tap the Edit button in the top right-hand corner and delete the playlists, songs, or artists you don’t need. You can always cache them again in the future. On Android, tap Downloaded Music from the front screen of the app.
Get better recommendations
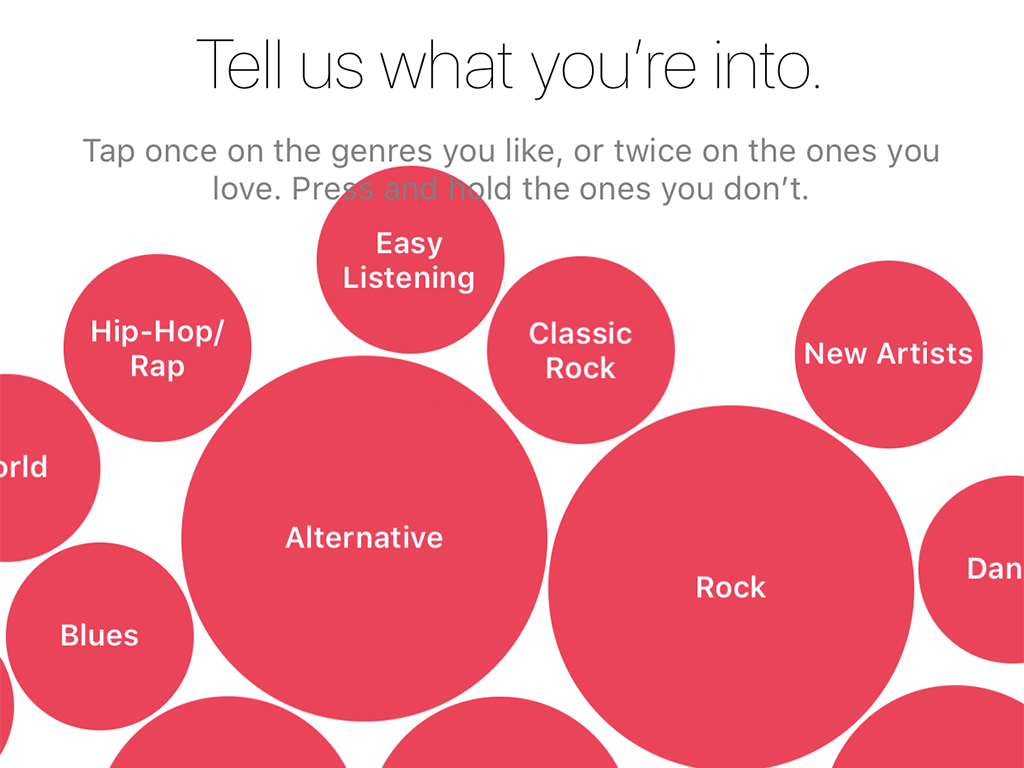
Apple Music asks you a little bit about your music taste when you first sign up for the service. As you go, you can also indicate what you like and what you don’t. Making your preferences clear will let Apple Music serve you the most relevant new music recommendations.
Whenever you come across a track you like in Apple Music, tap the Love button. To be more specific, tap your avatar in the mobile app, then select Choose Artists For You. On the next screen, you can tell Apple Music which genres and artists you like and don’t like.
Wake up to tunes
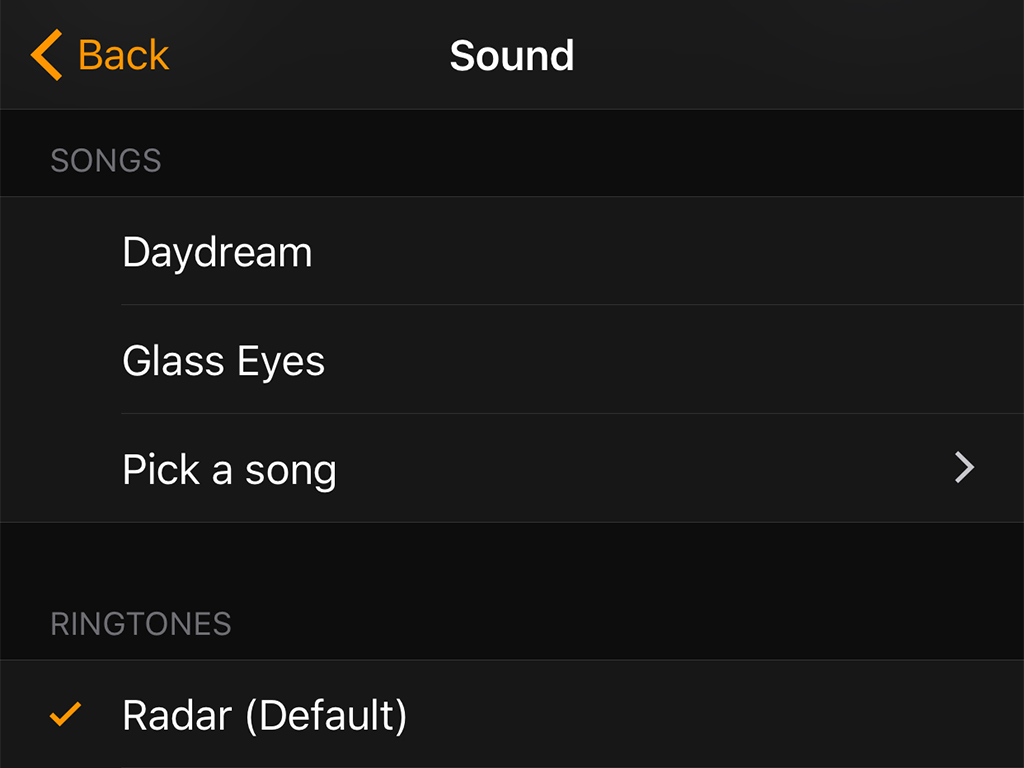
Think the right melody will get you up and out of bed quicker? iOS lets you wake up to tracks from Apple Music on your iPhone or iPad. When you create an alarm in the Clock app, tap the Sound option, then select Pick a song to see your music library.
For a song to be available here, it has to have been added to your personal library from Apple Music’s catalog. For example, you can do this in iTunes via the three-dot button by every track and album. Existing alarms can be edited to play different tracks as well.
Share your musical taste with others

Ready to share your finely-honed musical taste with the wider world? Long-press on a song in the mobile app to find the sharing option, which lets you share a link to an Apple Music track over email or instant messenger, or through social media apps like Facebook.
You can go further if you’ve got the iOS app: Open the For You tab, tap your avatar, then choose Start Sharing with Friends. This creates a public profile on the service. Other people can look you up to see what you’re listening to and the playlists you’ve created.
Create your own radio stations
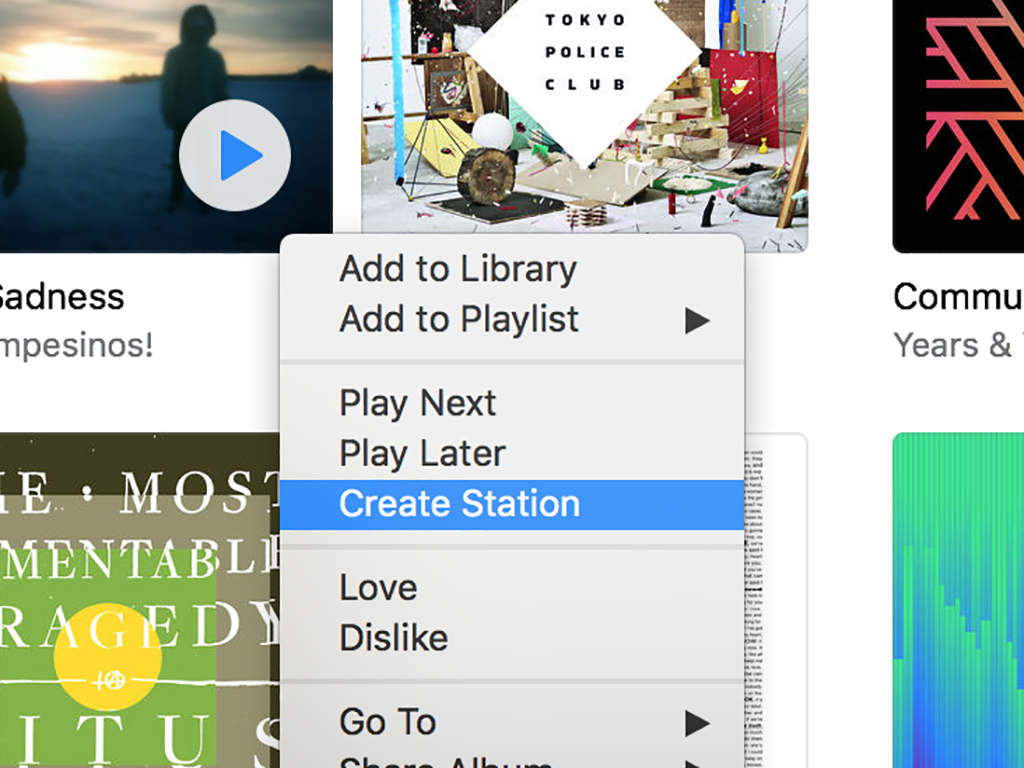
One of the benefits of an unlimited music streaming service is all that unlimited music streaming. Take advantage of it by creating your own custom radio stations—you point out an artist or song you already like, and Apple Music does the rest.
In iTunes or a mobile app, click any three-dot icon next to a song, album, or artist, then hit Create Station. Your chosen music plays first, followed by a selection of similar tracks chosen by the Apple Music algorithms. The station continues indefinitely until you stop it.
Move your playlists in and out of Apple Music
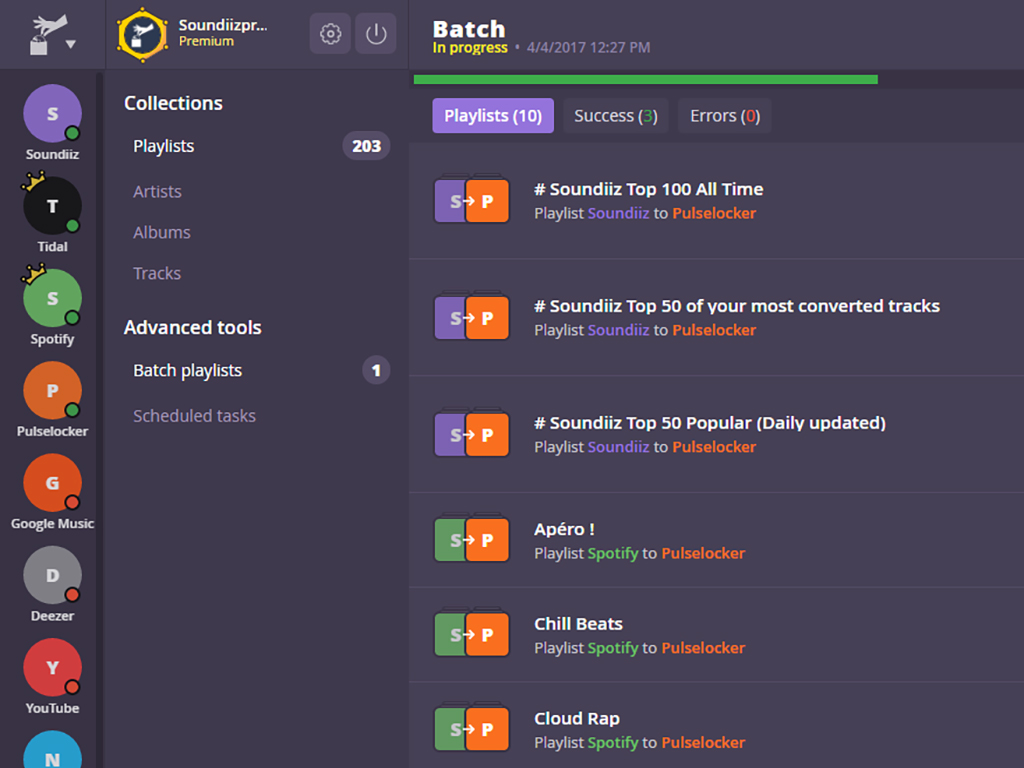
Perhaps you’re switching to Apple Music from Spotify, or you’re keeping both services running alongside each other. In either case, Soundiiz can help. With a few clicks, it transfers playlists between Spotify, Apple Music, and a host of other music-streaming services. The basic service is free, or you can pay $4.50 a month (or $36 a year) for a premium account. Premium access brings extra features like a duplicate track finder and the ability to combine playlists.
Stamp is a similar service you can try out, although it costs a little more.
Keep an eye on your subscription
By default, Apple Music will keep automatically subscribing you to the service month after month. This makes life easier—it means you don’t have to remember to re-subscribe and re-enter your payment information month after month. If you’re happy with Apple Music, you might even consider switching to a recently-launched $99/year subscription option: It gives you a slight price discount in return for your long-term loyalty.
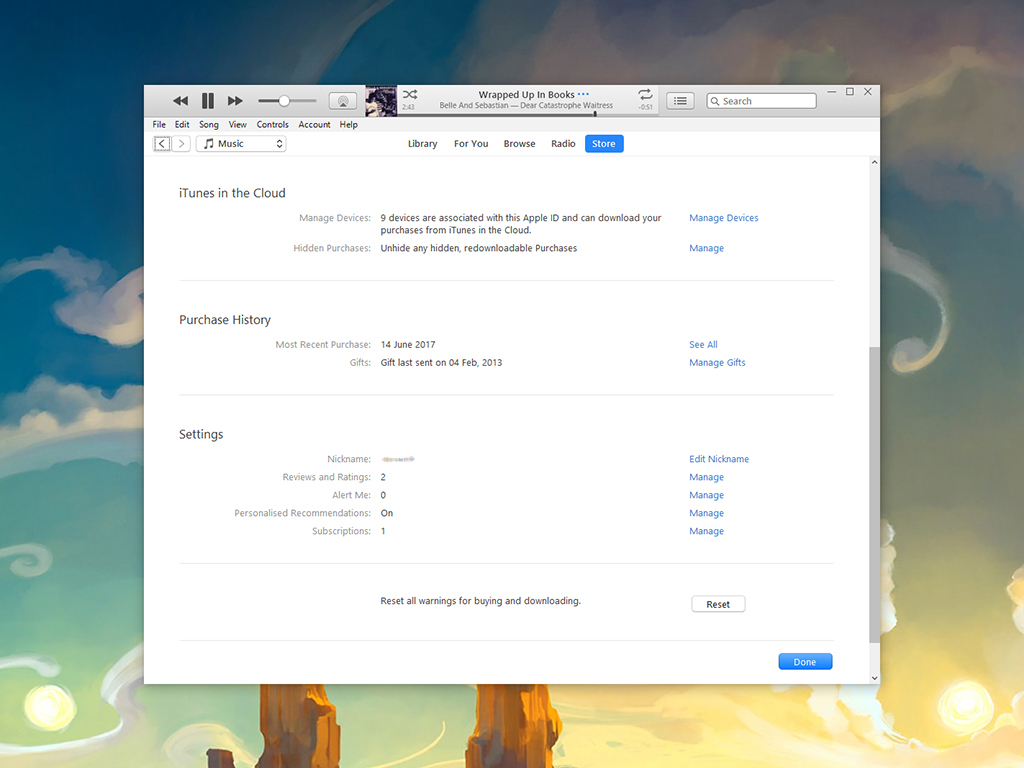
However, if you’re just testing out Apple Music or decide you want to take a break, you don’t want the service to keep charging you. On iOS, tap the For You tab, then your avatar, then View Apple ID, and finally Subscriptions. Tap Cancel Subscription to turn off the auto-renew feature. On Android, open up the Apple Music app menu (via the hamburger button in the top-left corner), tap your avatar, then choose Manage Membership. The same set of subscription options can be viewed in iTunes: Open the Account menu, choose View My Account, and click Manage next to Subscriptions.
