How to get started using a password manager
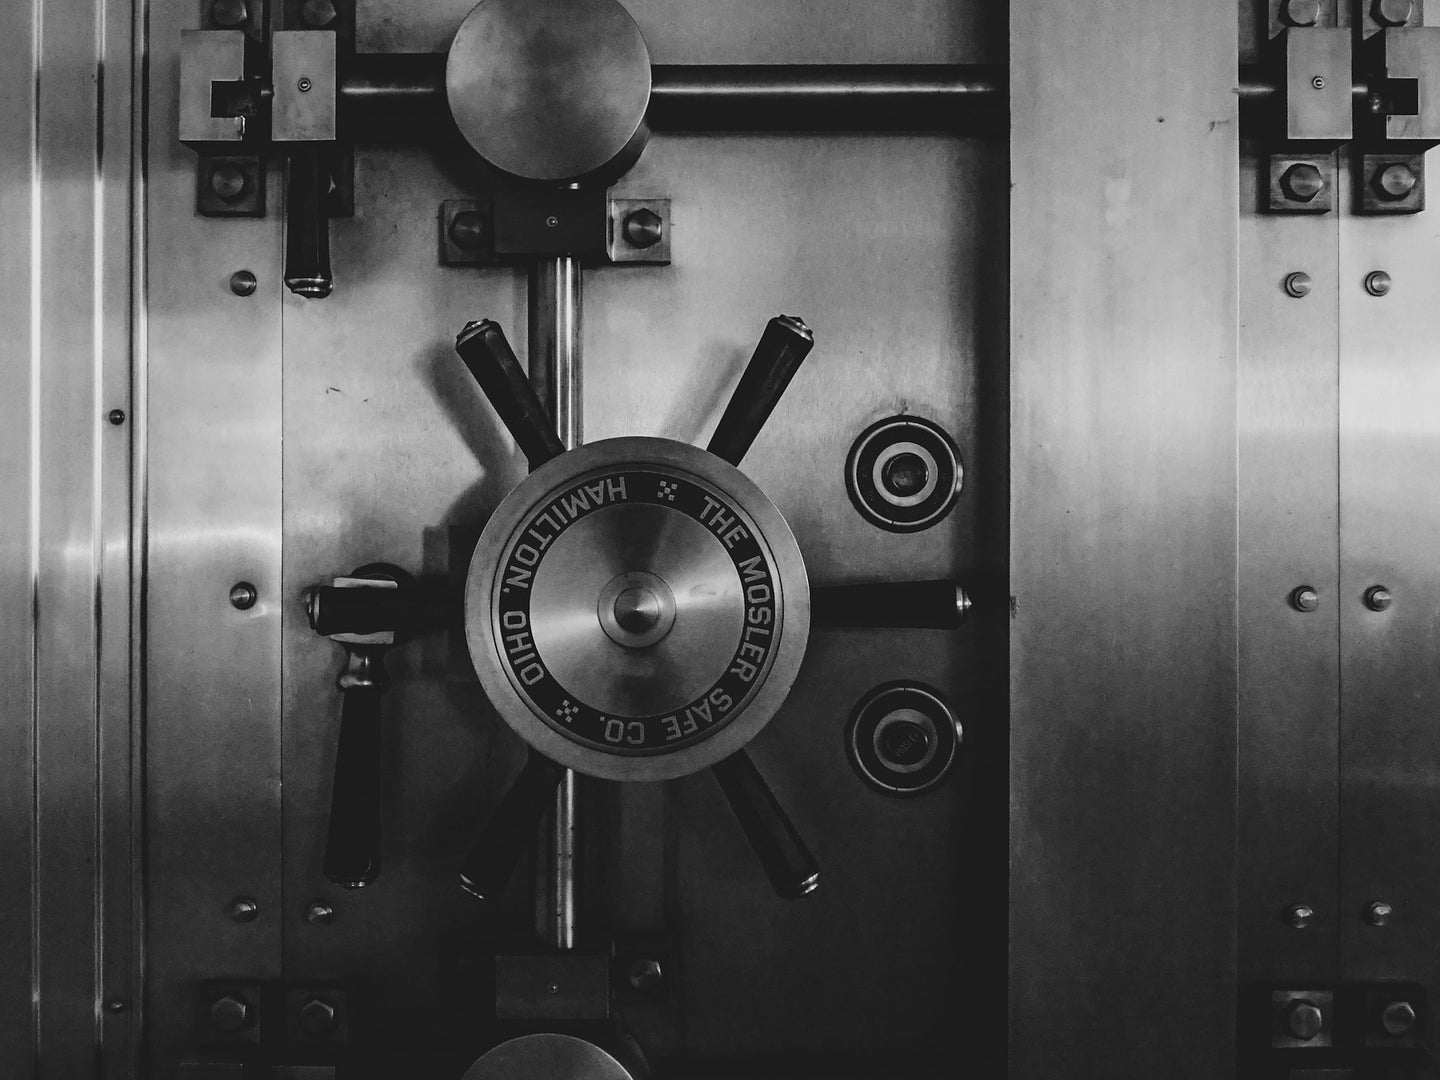
The best credential is one even you don’t know.
Using a password manager is one of the best and easiest ways to keep your online accounts safe. If you’re worried about making the jump, don’t be—they’re simple to set up and very much worth your while.
There might be slight differences between them, but all password managers work similarly. In our opinion, 1Password is one of the best available, so we’ll go through that setup process so you know what to expect. For other alternatives, check out Dashlane, LastPass, Keeper, Bitwarden, and NordPass.
Signing up for a password manager
You can try 1Password for 30 days for free, but because it doesn’t have a free tier, you will need to enter payment details to do so. After the trial period is up, it’ll cost you at least $3 a month, billed annually. If you don’t feel like expanding your list of paid services, LastPass and BitWarden have free tiers—the difference lies in the amount of features you’ll be able to access, not the level of security protecting your information.
Registering for an online account is pretty much the same no matter the platform, and we’re going to assume you’re fairly familiar with that process. What you really need to keep in mind when signing up for a password manager platform, though, is that you’ll have to pick a master password.
This will be the only barrier between all your other passwords and the outside world, so you’ll need to make sure it’s ultra-secure: lengthy, with lots of numbers and symbols, and hopefully impossible to guess. This is the key to all your data online, so absolutely do not write it down anywhere that someone else could get to it.
Some password managers, including 1Password, also give you a secret key that you’ll need to use with your master password to sign in on new devices. Make sure you store this in a safe place—keeping it on a document in your cloud storage is a good idea
Setting up your password manager
After you’ve signed up, install the corresponding app on all your devices. Your password manager of choice should’ve prompted you to do so early on, but if it didn’t, the links to the programs shouldn’t be too hard to find in your newly created account.
On every app you’ll need to sign in with your email address and master password. To speed up the process, 1Password also displays a QR code inside your account on the web which you can use to log in on the apps for Android and iOS.
While dealing with the mobile apps, you might be asked if you want to authenticate your account using biometric data, like Face ID on the iPhone, for example. If you feel comfortable with this, it is a quick way of gaining access to your information and will save you from entering your master password every time.
It’s also a good idea to add the relevant password manager extension to your favorite web browser, as this is where you’re likely to do most of your logging in—the add-on will jump into action whenever you access a new account.
Importing your passwords
Most password managers give you the option to import credentials from somewhere else, such as your browser. In the main 1Password portal on the web you can click your name (top right) then hit Import to get started.
This is certainly a good time-saver, but if you want to start again from scratch, that’s fine too. Doing this will allow you to filter out those old and redundant logins that you may not want to carry over to your new password manager.
The import option may require you to save your existing passwords in a file of a specific type, but don’t worry—you’ll be guided through this process. With 1Password, you can load up credentials from an older 1Password account, as well as from other similar platforms.
When it comes to importing passwords from Google Chrome, you’ll need to export them first. Open the browser menu (three dots, top right), then choose Settings and Passwords. Click the three dots next to Saved Passwords, then Export passwords.
Saving your credentials
To save passwords to your password manager, just use your computer and your phone as you normally would. Whenever you get to a point where you need to log in somewhere, you’ll be asked if you want to save the relevant credentials.
In the case of 1Password and its browser extension, look for the Save in 1Password button when you’re logging in. You can also organize your passwords in different vaults to keep things tidy.
Many password managers will offer to generate super-strong passwords for you when you sign up for a new platform. These passwords are super-secure and you won’t have to remember them, as the manager will do all the hard work.
After a few days you should find that most of your passwords have been safely stored. If you need to make any edits, just open up your 1Password account on the web or on your phone.
Logging in
After all that setup, you’re ready to enjoy the benefits of using a password manager. Your credentials will follow you across multiple platforms, devices, and browsers—whenever you need to log in, the password manager should spring into life.
On some devices, you might need to give your password manager permission to do its job. On iOS, for example, head to Settings, then tap Passwords and AutoFill Passwords to give the platform of your choice permission to log into apps and sites for you.
In the case of 1Password on Android, you’ll need to make sure that you’ve enabled permissions in the Accessibility menu in Settings. This tells Android that 1Password is allowed to see what’s on screen when you’re logging in, and fill in fields for you.
Don’t worry if this sounds complicated, as the respective apps will guide you through the necessary steps when you install them. The extra layer of security is designed to make sure only approved apps can monitor what you’re doing on your phone.
Securing other kinds of data

Just about every password manager we’ve come across lets you store other information besides usernames and passwords, like credit card details, passport information, and notes you don’t want anyone else to see, for example.
In 1Password, these other pieces of data are available via the navigation pane in the desktop apps and the web interface. If you click on Secure Notes, you’ll see there’s a draft already there giving you some tips for getting started with the software.
To create a new note, click the plus icon up at the top of the notes list. You’ll then see all the types of information 1Password can hold—from Wi-Fi login details to driver licenses—and you can pick what you want to create.
This particular password manager will also let you split your notes into sections with various subheadings, and apply tags to your notes too, which makes it easier to group them together and organize them.
Editing settings and credentials
As you would expect, your password manager will come with a bunch of settings to explore. We’d recommend checking them out once you’ve got to grips with the basics of the software.
In the case of the 1Password app on Windows, click 1Password, then Settings to get to the options. You can set how the software interacts with your browser, set up alerts for when your credentials are involved in a data breach, and set a default vault for new passwords.
In the mobile app for Android or iOS, you can tap Settings from the main screen. It’s possible to adjust the appearance of the app, set up extra layers of security (like a PIN code) to protect your passwords, and clear the app’s local cache.
You can also set the period of inactivity after which the desktop and mobile apps automatically lock. It’s a good idea to set this as low as possible, just in case you briefly step away from your laptop or your phone.
